Wax On, Wax Off: Mr. Miyagi-Approved Techniques for Waxing and Removing Wax from a Surfboard
•Posted on January 28 2021
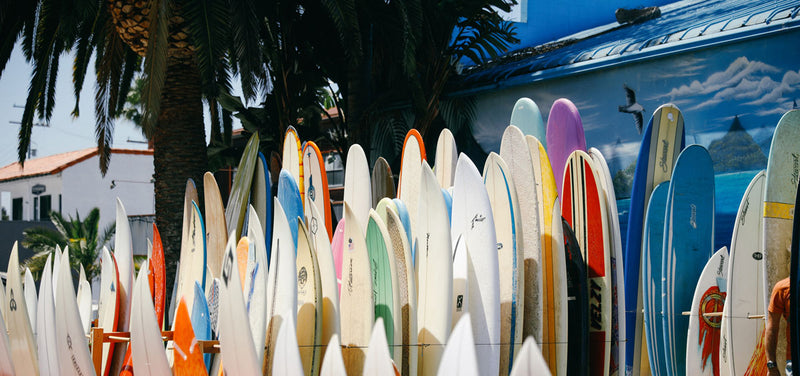
Here at the shop, we get the questions “What’s the best way to wax a surfboard?” and “What do I need to remove the wax from my surfboard?” a lot. So much that we thought you might appreciate a quick how-to. Here ya go...
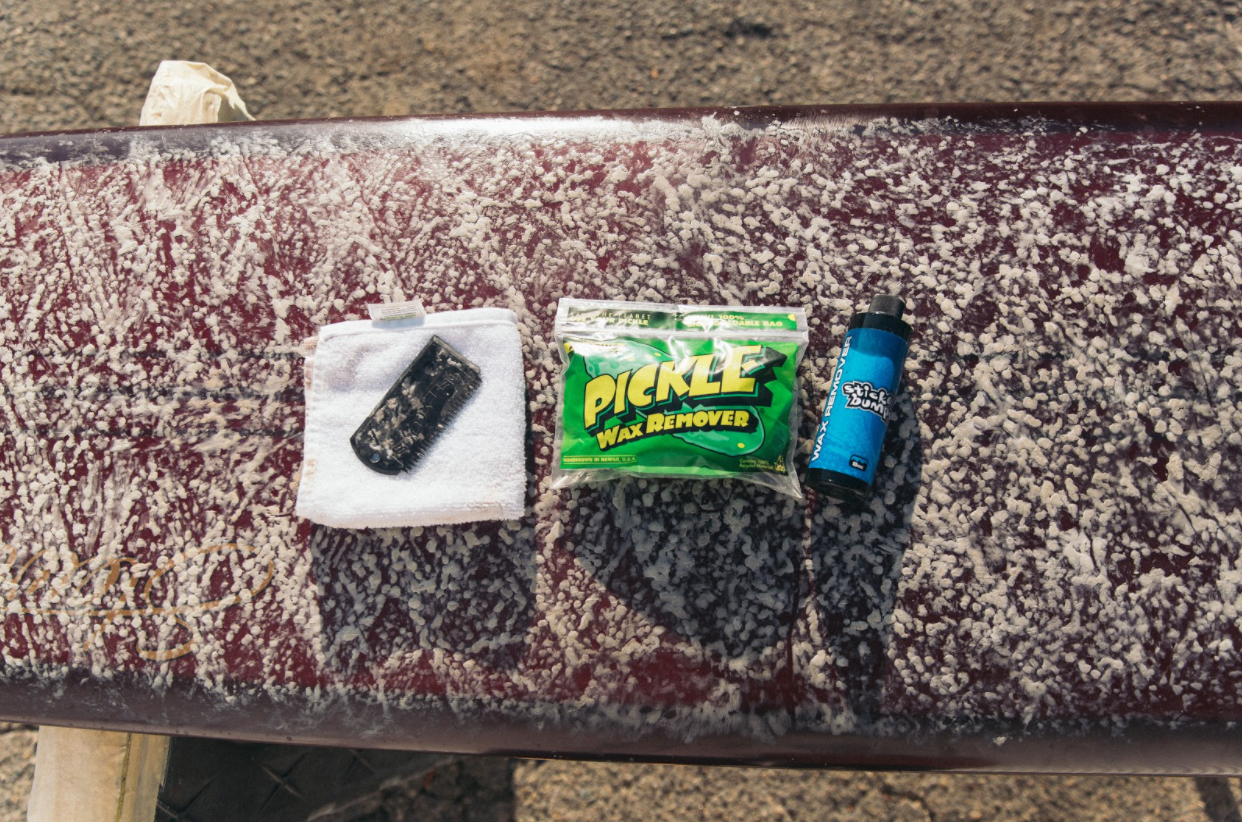
Materials Needed:
- Wax scraper
- Pickle
- Liquid wax remover
- Small hand towel
- Fresh wax

Surfboard Wax Removal Steps:
- Melt
- Scrape
- Pickle Rub Down
- Buff & Shine
Surfboard Waxing Steps:
- Choose the Right Wax
- Base Coat Foundation
- Wax On!
HOW TO REMOVE WAX FROM A SURFBOARD
Step 1: Patience, Grasshopper
Let the board sit in the sun deck up for about 10 minutes to melt the wax. The sun will soften the wax, making it easier to remove the wax from your surfboard.

Step 2: Scrape
Next, remove as much of the wax as you can with the wax scraper. Holding the wax scraper at a 45-degree angle to the board, press firmly on the teeth edge of the scraper and run the smooth edge along the deck of the board, peeling the wax up as you go. Go ahead and get creative -- that old, funky wax is no good for surfing, but we’ve been known to create some pretty epic wax sculptures out of it.

Step 3: Pickle Power
Once you’ve removed most of the wax, rub the Pickle across the entire deck of the board. Be sure to channel your inner Daniel-san and use Mr. Miyagi style circular motions to get that wax off. Probably the most random tool in our wax-removal kit, the Pickle’s powers are mystical -- we’re not sure how it works, but it does!

Step 4: Buff & Shine
By this point, your board is lookin’ pretty fresh. To take it to the next good-as-new level, lightly drip liquid wax remover over the board and scrub off that last bit of wax residue with a towel. Buff out the wax until the board looks new and the wax is completely removed from the surfboard.

HOW TO WAX A SURFBOARD
Step 1: Take Your Temperature
Water temp, that is. Grab a few fresh bars of wax that’s right for your local water temperature. Having the right wax for the water temp is key for ideal stickiness without melt. We’ll use a bar of base coat and a bar of cool for this board -- cool works well most of the year here in SoCal.

Step 2: Lay the Foundation
Do you really need a base coat? We think so. Throwing down a solid layer of base coat makes it easier to add additional wax to the board in the future after you’ve surfed a few times and need to freshen up the stickiness of the top layer.
Starting with the bar of base wax, firmly press the wax against the deck of the surfboard, and make straight diagonal criss cross lines from rail to rail, roughly 2 inches apart. Wax the surfboard completely from the nose all the way to the tail, in the case of a longboard, or wherever your feet will be on a shortboard. Don’t skimp on this base coat layer -- it’s the foundation of the wax for the entire board.
After that first pass of diagonal lines on the whole deck, lightly apply the base coat of wax over the lines again, to fill in the gaps. You wanna make sure the base coat covers most of the deck. Keep going until you start to see small bumps form across the deck.

Step 3: Wax On!
Once you’ve got a good foundation of base coat, grab the right temp wax for your local waters and go over the base coat layer with the same “wax on, wax off” circular motion. Apply the wax from the nose of the board, rail to rail, all the way to the tail, forming larger bumps of wax as you move throughout the length of the board.